Designed by sculptor Charles Bergen, the five waymarkers – sculptural signposts located lower down the hillside from the memorial – point to the five D-Day landing beaches. They feature scenes representing different aspects of the landings.
Utah Beach
Located the furthest west of the five Allied beaches, Utah was one of two American landing areas. British forces did however support operations here, particularly at sea and in the air.
At the top, three C-47 transport aircraft of the United States Army Air Forces (USAAF) drop American parachutists. During the night of 5/6 June the first troops from two US airborne divisions arrived in France by parachute and glider, several miles inland from the beach.
The adjacent scene shows vehicles disembarking onto the beach from multiple LSTs (Landing Ship, Tank). These ships could carry dozens of vehicles and had a ramp at the bow for unloading. The LSTs at Utah Beach on D-Day were American-manned, but the Royal Navy operated the same ship type on other beaches.
In the centre of the panel, US infantry are supported by a Sherman tank as they advance inland after landing on Utah Beach. Initially they moved through an area of flooded fields behind the beach, which was only crossed by a few causeways. Further inland as they sought to link up with the airborne troops, the Americans encountered thicker vegetation which aided the German defenders.
Here as on other beaches, the landings had been preceded by attacks on the German defences by British and other Allied bomber aircraft. At the bottom of the waymarker, a B-17 bomber bearing the USAAF’s ‘star and bars’ insignia, and a Lancaster bomber of the Royal Air Force, flank a view inside the cockpit of one of these heavy bombers.
Omaha Beach
The main force landing on Omaha Beach was American, but British forces were in support.
In the centre of the waymarker, an LCA (‘Landing Craft, Assault’) of the Royal Navy delivers American infantry to the beach. A significant proportion of the troops landing here on D-Day were put ashore by British landing craft.
The infantry storm past ‘hedgehog’ obstacles which the Germans had placed on the beaches to sink Allied landing craft. American forces suffered very heavy casualties on this beach, in the face of strong enemy defences.
Just behind, tanks disembark from a larger craft, an LCT or ‘Landing Craft, Tank’ of the United States Navy. In the distance, a destroyer comes close inshore to fire its guns at enemy defences, aiding the American assault troops who were struggling to establish a foothold.
On the edge of the waymarker, men of the US Rangers climb the cliffs at Pointe du Hoc, several miles further west than the main landings at Omaha Beach. These men scaled 30-metre high cliffs to attack a German coastal gun battery that was believed to threaten the Allied fleet. Below them, a plan of the battery indicates the six concrete bunkers that were believed to contain long range guns.
Two B-26 medium bombers fly overhead: this type was operated by both American and British air forces.
Scenes at the bottom of the waymarker represent two more aspects of the naval contribution to D-Day, which were common to all five Allied beaches. Above the word “Omaha”, a group of minesweepers criss-cross the waters off the beach, clearing the area of any German naval mines that might sink Allied shipping. Minesweepers led the Allied fleet across the English Channel. Many of the minesweepers at this beach were British or Canadian.
Next to the minesweepers are a pair of ships of the Merchant Navy. These civilian-manned ships arrived off Normandy from D-Day onwards, and played an essential role in bringing additional troops and supplies to France.
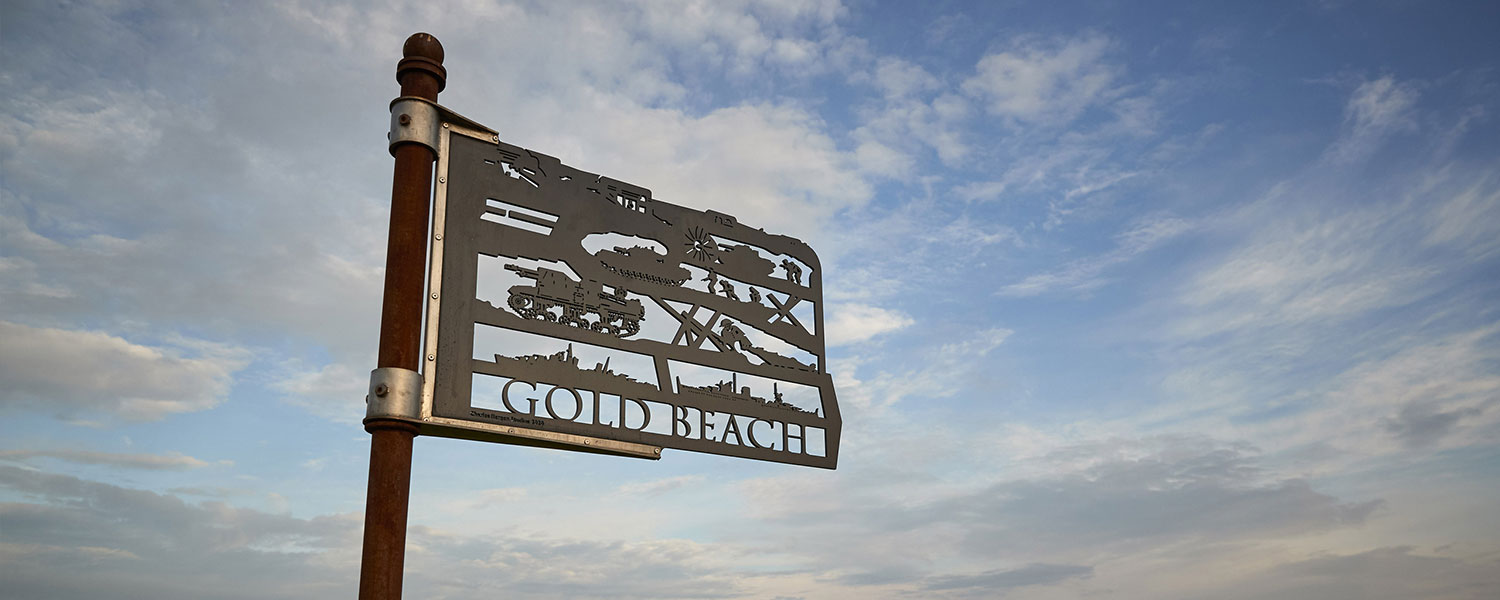
Gold Beach
British forces landed at Gold Beach on D-Day. At the top of this waymarker are a number of the bunkers which dotted the Normandy coastline to strengthen the German defences.
Below them, a pair of specialized tanks lead the advance off the beach, with supporting infantry following them. A Sherman ‘Crab’ tank clears a path through a German minefield. Chains attached to a rotating drum on the front of the vehicle flail the ground, setting off any land mines.
Next is a Churchill AVRE (Armoured Vehicle Royal Engineers). This tank had a short gun, known as a petard mortar, which fired a shell that could destroy concrete bunkers.
A Sexton self-propelled gun features in the centre: it was a form of mobile artillery. On Gold Beach a Sexton was even involved in destroying a deadly German anti-tank gun housed in a concrete bunker that was holding up the advance off the beach.
To the side, next to a cluster of German ‘hedgehog’ beach obstacles, a medic treats a wounded man. Many troops were killed or wounded on all five beaches. Often under enemy fire, medical personnel worked selflessly to save men who frequently had suffered terrible wounds.
At the bottom of the waymarker are the Royal Navy warships HMS Ajax and HMS Argonaut. These cruisers were part of the naval force at Gold Beach. On D-Day they fired their guns at the German coastal artillery battery at Longues-sur-Mer, to prevent it from shelling Allied shipping.
Juno Beach
The majority of the forces landing at Juno Beach were Canadian, though with many British personnel in support.
Canadian infantry can be seen exiting their landing craft and running up the beach under enemy fire. At the top of the beach they faced a high sea wall covered with barbed wire, which was a considerable obstacle.
A casualty lying in the foreground points to the heavy losses experienced by many of the Canadian assault units. The landing craft that delivered the Canadians to the shore also suffered many losses.
More landing craft and ships can be seen in the background, while four Hawker Typhoon fighter-bombers fly overhead. This type of aircraft played an important role in attacking enemy targets on the ground on D-Day and during the Battle of Normandy.
To the side is the maple leaf symbol. While this was not part of the Canadian national flag until after the Second World War, at that time it was a long-established symbol of Canada.
The bottom of the waymarker references the buildings that lined the rear of much of Juno Beach. The Germans had turned seafront villages into small fortresses. The defenders were only overcome many hours later, after the Canadians had fought house-to-house.
Sword Beach
British forces landed at Sword, the eastern-most of the five landing beaches. The first troops to land were British airborne forces, who descended from the air by parachute or glider. Their mission was to protect the flank of the Allied landings.
Airborne troops are seen emerging from a Horsa glider, which now rests at a jaunty angle with one wing in the air. A Halifax heavy bomber banks overhead. This aircraft was one of the types that towed troop-carrying gliders across the English Channel before releasing them to land in France.
Alongside is the distinctive silhouette of ‘Pegasus Bridge’, one of the airborne troops’ first objectives. This bridge spanned the Caen Canal, and along with the nearby ‘Horsa Bridge’ across the River Orne, was seized in the first minutes of D-Day. Dakota transport aircraft drop parachutists as they pass overhead.
The centre of the waymarker depicts the beach landings. Assault infantry rush ashore from an LCA (‘Landing Craft, Assault’). To the side, more troops make their way inland, as an amphibious ‘DD’ tank leads the way: the two propellers can be seen on its rear, which enabled the tank to move through the water.
In between these two scenes is a commando dagger. On D-Day both Army and Royal Marine Commandos landed on Gold, Juno and Sword Beaches. These highly-trained troops had to capture key objectives, or link up with and reinforce other troops.
Below the DD tank are two badges representing notable units involved in the landings. The Combined Operations badge features an eagle, a ‘tommy gun’ and an anchor, representing the air, land and sea components working together. The badge was worn by commandos and by other personnel whose roles related to amphibious operations. Below that badge is the symbol of the Free French commandos who landed on Sword Beach.
At the lower centre of the waymarker is a frogman of the Landing Craft Obstacle Clearance Units (LCOCUs) who has dived under water to deal with a German beach obstacle. The lower half of the obstacle – which is known as a Belgian Gate – can be seen infront of the diver. He is about to place explosives on the obstacle so he can destroy it, preventing it from sinking landing craft as they approach the beach.
To the side is a DUKW amphibious truck. These vehicles could operate both on land and in the water, and they used this ability to greatly speed up the process of unloading supplies from larger ships.
FEATURED SHOP ITEM
£25
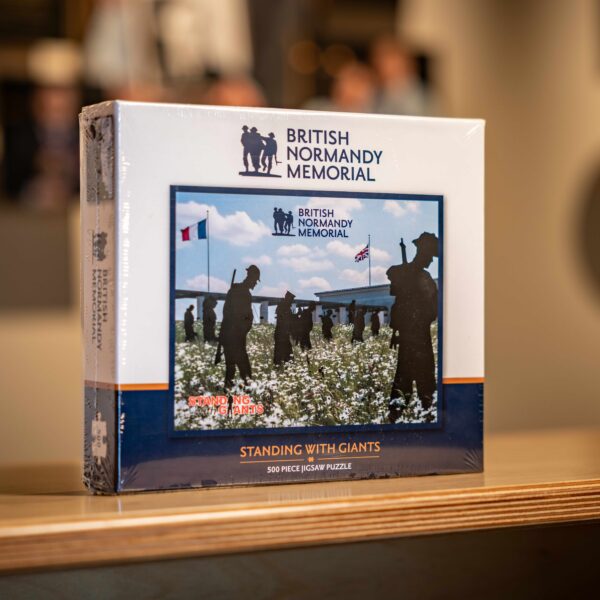
ORDERStanding with Giants Puzzle
Bring a powerful moment of remembrance into your home with our Standing with Giants 500-piece jigsaw puzzle. Featuring the striking silhouettes installation at the British Normandy Memorial, this beautifully produced puzzle captures the scale and emotion of the tribute.
£9.99
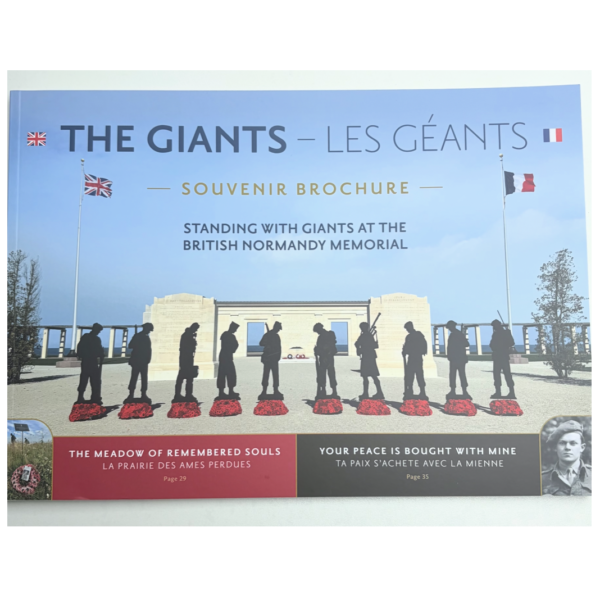
ORDERStanding with Giants - New 2026 Souvenir Brochure
Featuring more stories of the fallen and sharing some of the very moving tributes left within the ‘Meadow of Remembered Souls’. A lovely memento of the poignant installation honouring the memory of the 1,476 servicemen under British command who died on D-Day.
£20
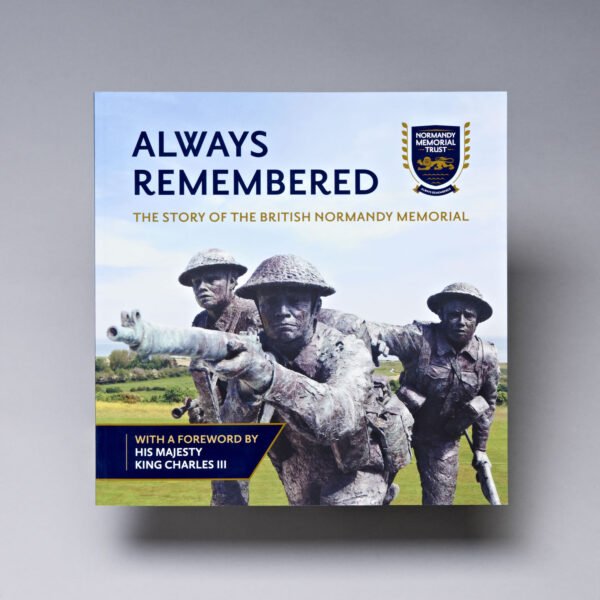
ORDERAlways Remembered Book
The newly revised ‘Always Remembered’ book tells the story of the making of the British Normandy Memorial, stories of the men and women it honours and now includes photographs of the D-Day 80 commemoration at the Memorial last year.